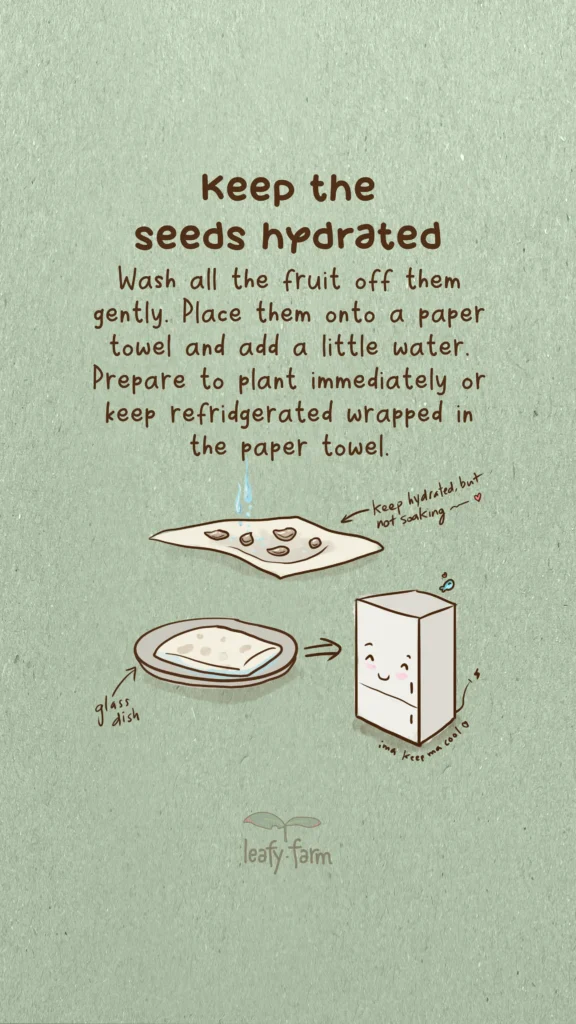
Wash all the fruit off them gently. Place them onto a paper towel and add a little water. Prepare to plant immediately or keep refridgerated wrapped in the paper towel.
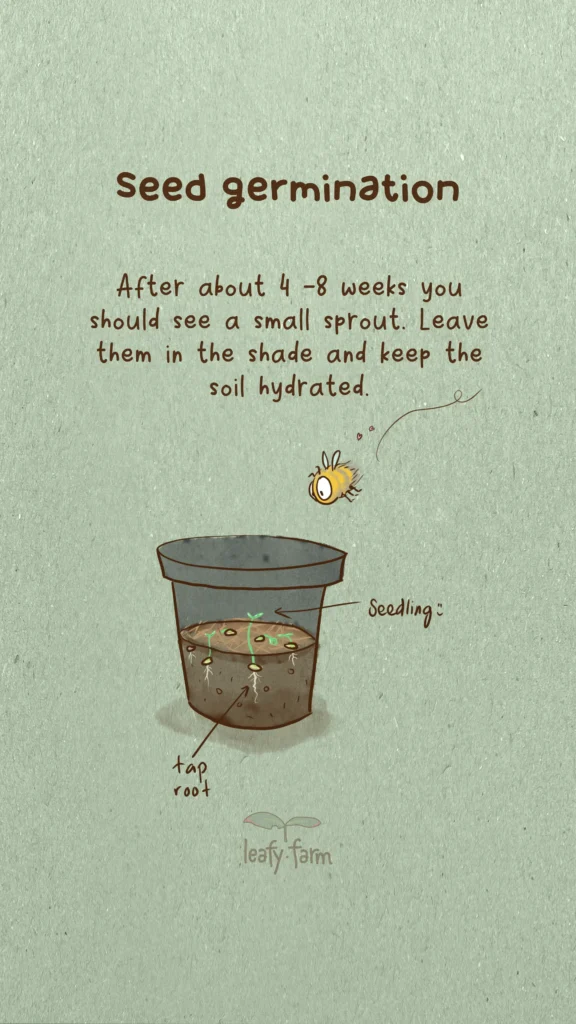
Seed germination
After about 4 -8 weeks you should see a small sprout. Leave them in the shade and keep the soil hydrated.
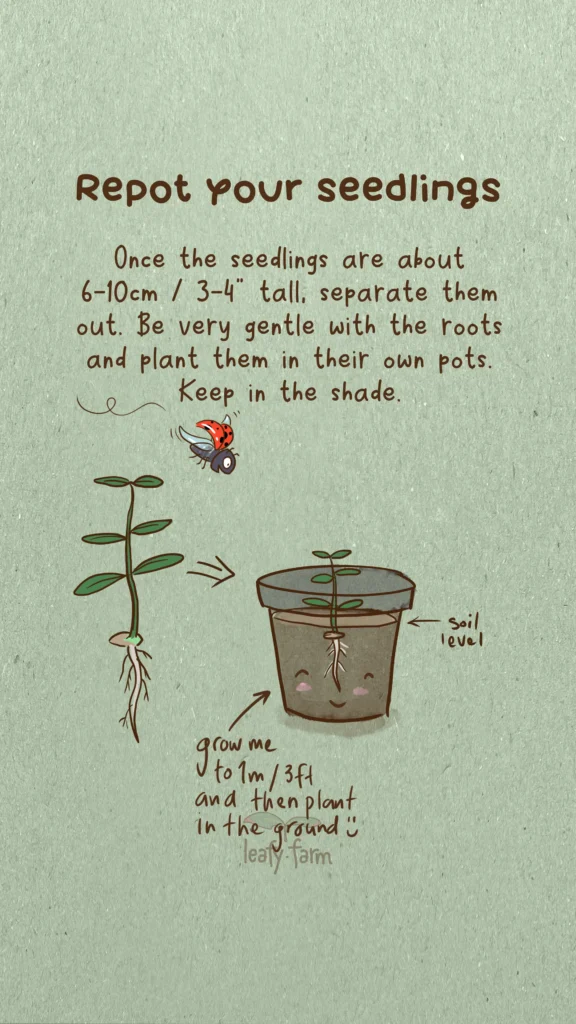
Repot Your seedlings
Once the seedlings are about 6-10cm / 3-4 tall, separate them out. Be very gentle with the roots and plant them in their own pots. Keep in the shade.
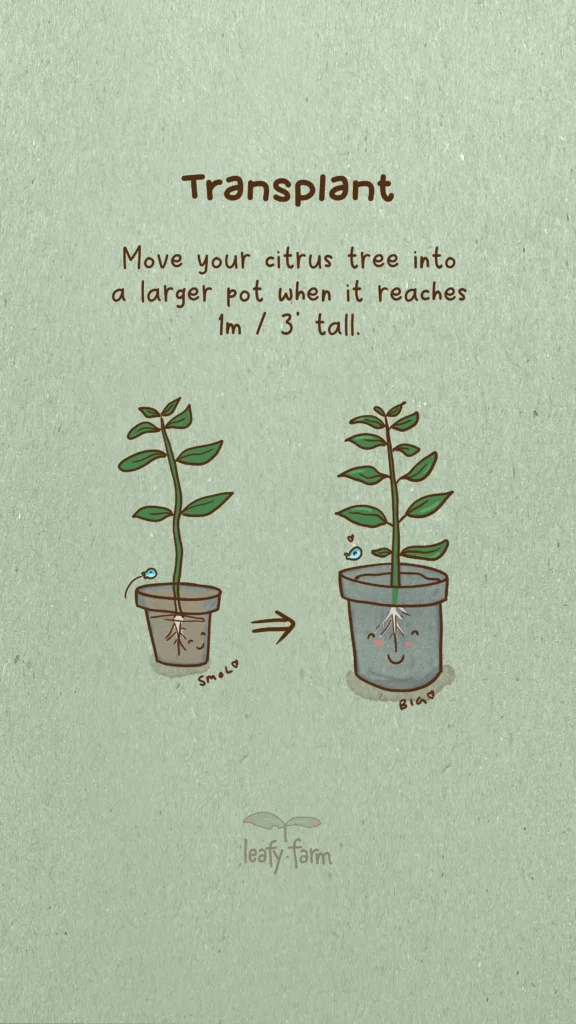
Transplant
Move your citrus tree into a larger pot when it reaches 1m / 3 tall.
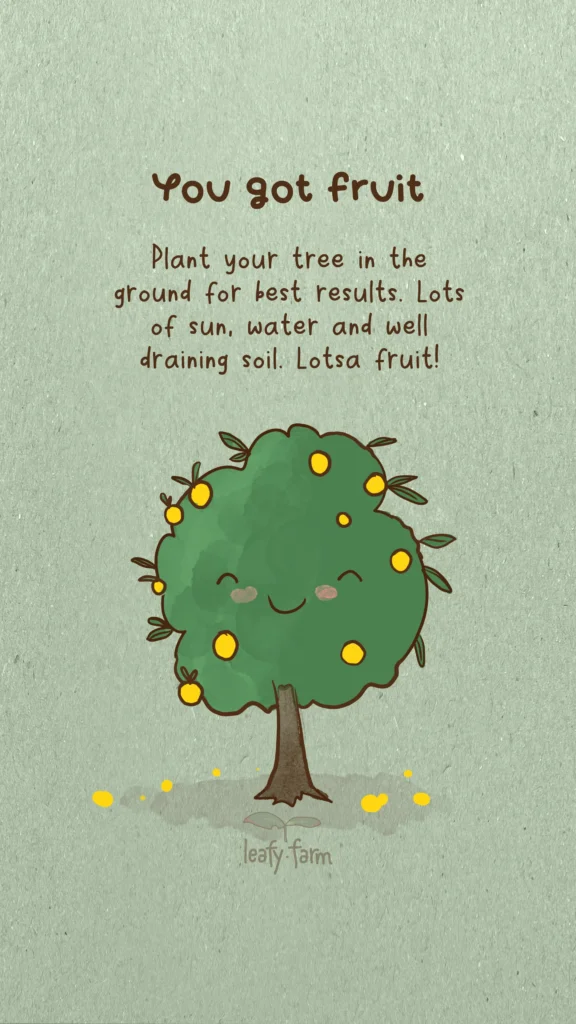
You got fruit
Plant your tree in the ground for best results. Lots of sun, water and well draining soil. Lotsa fruit!
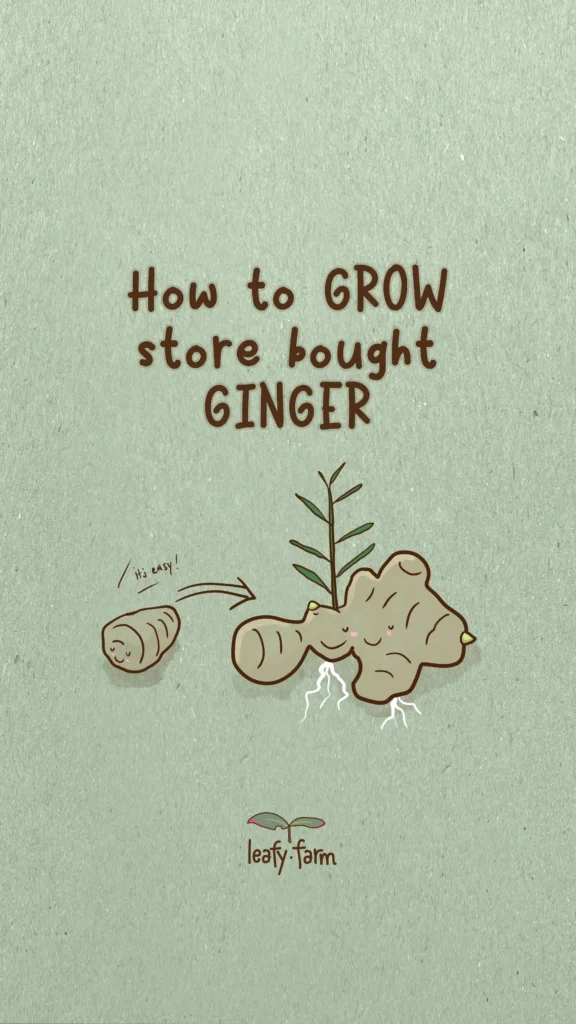
Growing your own ginger isn’t hard and you can start with the ginger rhizomes you get at your local store. Buy once and have plenty of fresh ginger each year.
Grab some fresh ginger from your local store.
Organic is better, or whatever is available. Look for fresh ginger which is firm and full. And ginger with the little green buds forming is a good sign.
Give it a bath
Soak your ginger in water overnight. It’s often sprayed with a growth inhibitor to prevent it sprouting in transit and while on the shelf. Soaking it helps to remove the inhibitor and revitalise its moisture content.
Snap!
Break your ginger into pieces so you can plant and grow ginger. The green buds (if your ginger has them) are where it will sprout, so use that as an indicator of where to break it.
Dry it out
Now give it some time to dry out a little. Place the ginger pieces in a cool dry position (shelf) and let them air dry for a few days.
Time to plant
Plant your pieces 5cm / 2 inches deep into the soil in a 1-2 litre / 0.5 gallon pot. Place it in the shade and keep the soil slightly moist, but not wet. In 8 months or so you should have plenty of fresh ginger growing.
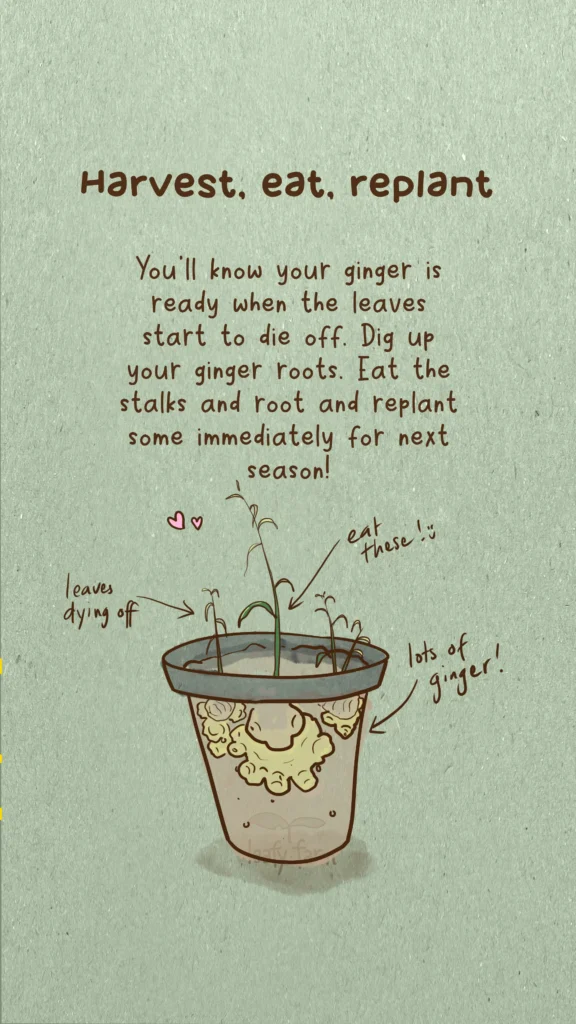
Harvest, eat, repeat
You’ll know your ginger is ready when the long thing leaves start to yellow and brown off. Dig up your ginger roots, wash them off and store them in a dry cool place. Use some immediately for the amazing zing of fresh ginger. You can also eat the stalks in salads or other dishes. Ginger is a fantastic immunity booster.
Replant some smaller pieces of your ginger for next season. If you keep the rhizomes in soil and don’t overwater them, they shoot again when it’s time.
Enjoy growing ginger at home and drop a comment if you’ve had success.
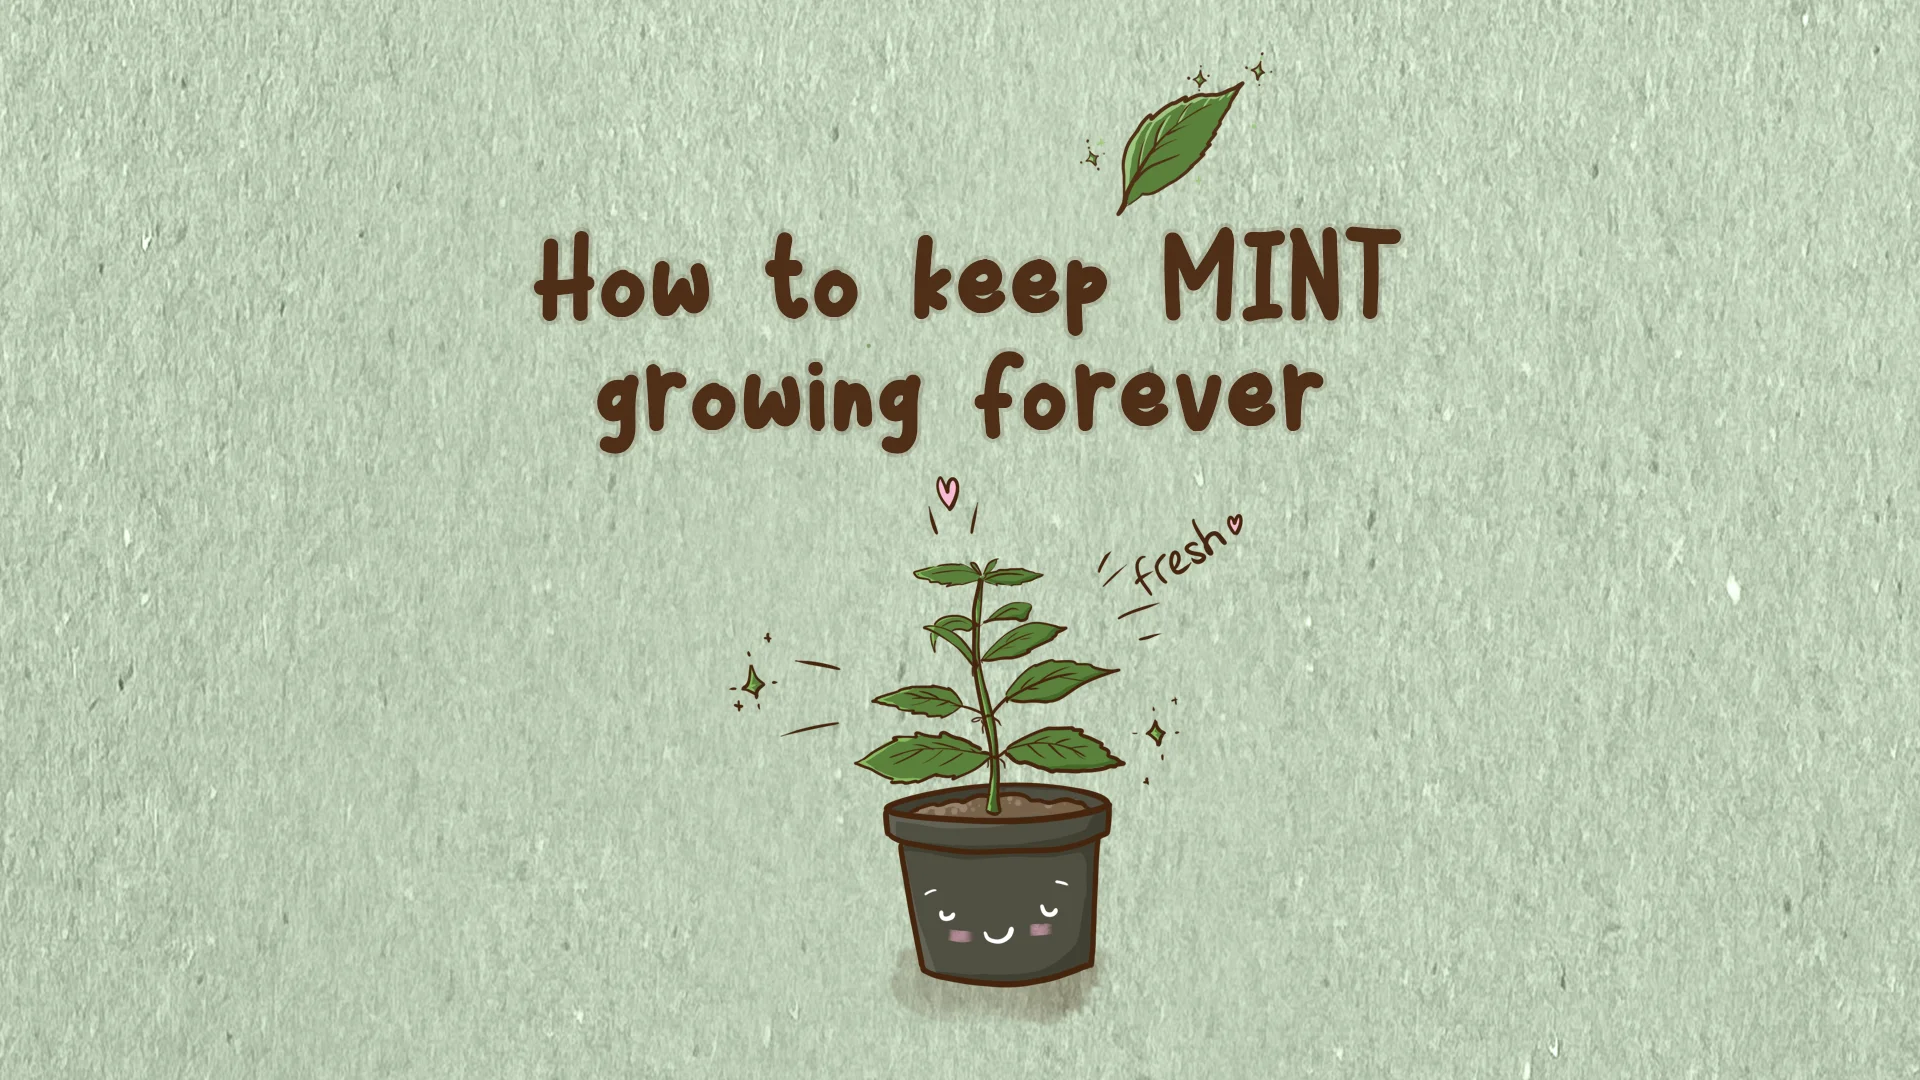
Here’s an easy way to keep mint alive so you always have some on hand, even through summer. Mint looooves water, and it’s best if it has access to it daily. It sends runners under the soil and is a hardy herb.
Who doesn’t love a bit of mint in a spritz or a salad. It’s just the best.
Grab some mint
Get your hands on some mint. It doesn’t have to be a full plant with roots, a small cutting will do to get started. A neighbour may have some in their garden, or visit your local nursery or supermarket.
Put it in water
Put your cutting in a jar or glass of water and keep it near a window, not in direct sunlight. 2-3 weeks later it will have plenty of roots.
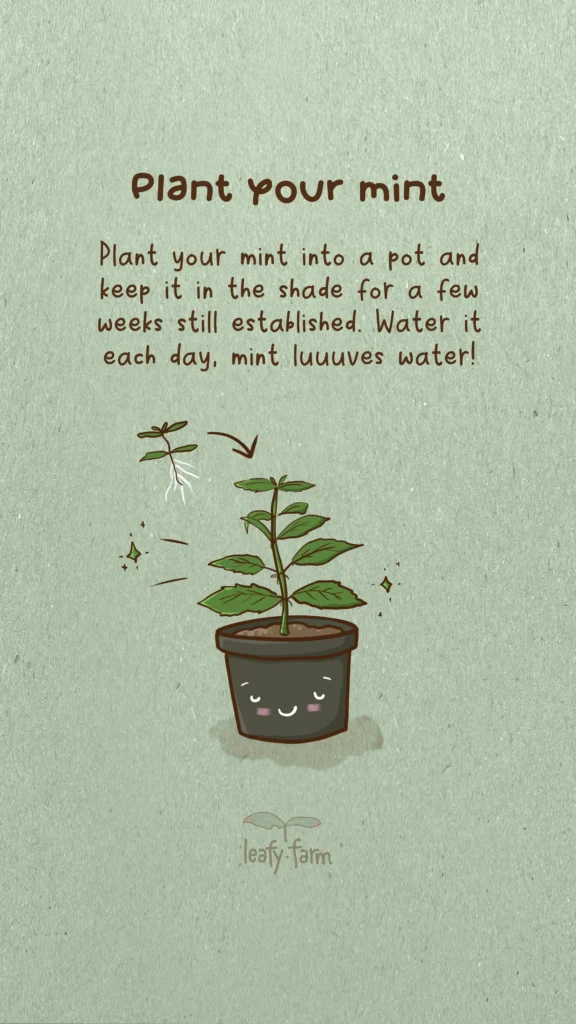
Plant your mint
Plant your mint into a soil in a pot once it’s got plenty of roots. Give it a light mulch and plenty of water. Keep it in the shade and the soil moist.
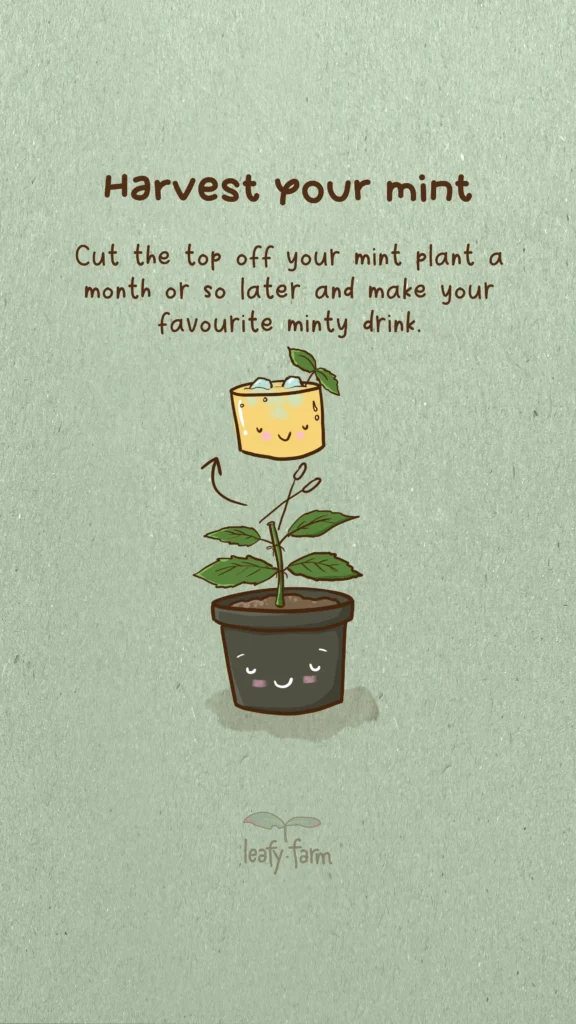
Harvest your mint
Cut off the top of your mint plant (2-3 nodes) a month or so later once it has some growth. Use it in your fave minty drink 🙂
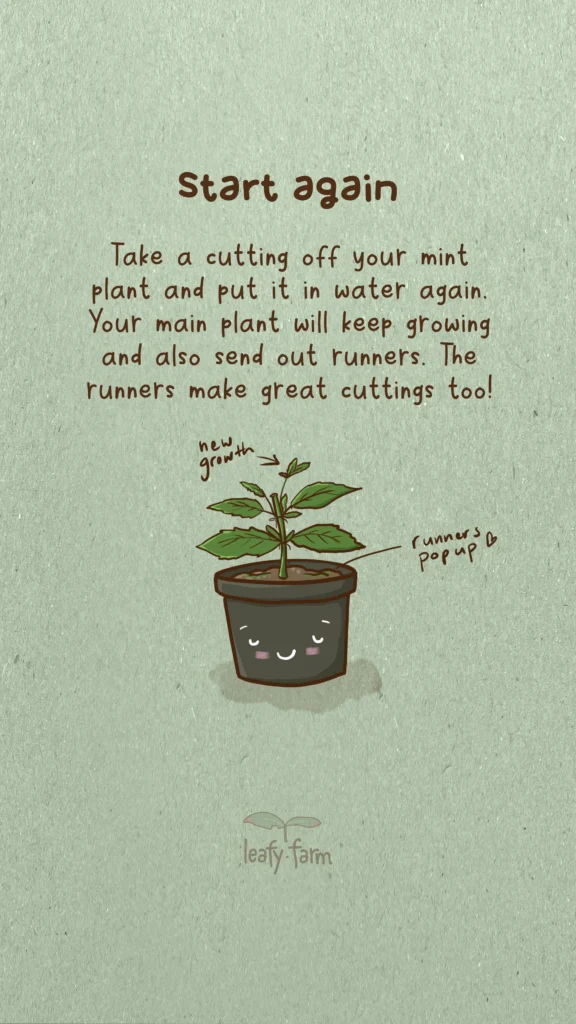
Start again!
Repeat the process. Take a cutting, put it in water, wait till it roots and plant again. Your main plant will get larger, send out runners and those can be cut off and replanted (or put in water) too.
Recycling the aluminium coffee pods is a good way to reduce landfill and get the right materials into the right place for reuse. Many of the coffee pods are made of aluminium and filled with coffee grounds. They’re easy to pop open and recycle, let’s get started.
Dry your coffee pod
I do them in batches of 10 or so and store them up in a container for them to dry out. You can poke a hole in the top of them to hasten the process. Nothing much likes coffee grounds to there’s no issue of attracting ants or vermin.
Open your pod
Grab a screwdriver or other sharp instrument and open up the top of the pod to remove the coffee grounds. I just poke the screwdriver into the middle and spin it in a circle, the pierced top sheet is very thin.
Feed your worm farm
The coffee grounds can go straight into the garden (yes plants love them), into the worm farm or compost. Too easy.
Recycle the metal coffee pod
Flatten your pod, I use a hammer or brick! Then put it into your metals recycle bin for repurposing. Job done!
Leave a comment if this in on recycling your coffee pods has been helpful.
I love basil, you might too. It’s fresh herby smell and taste in a salad or on pizza is one of the pleasures in life. Let’s face it, the basil from the supermarkets isn’t all that fresh and since it’s been cut, it’s on its way out. Unless you’re lucky enough to have access to potted basil in your supermarket.
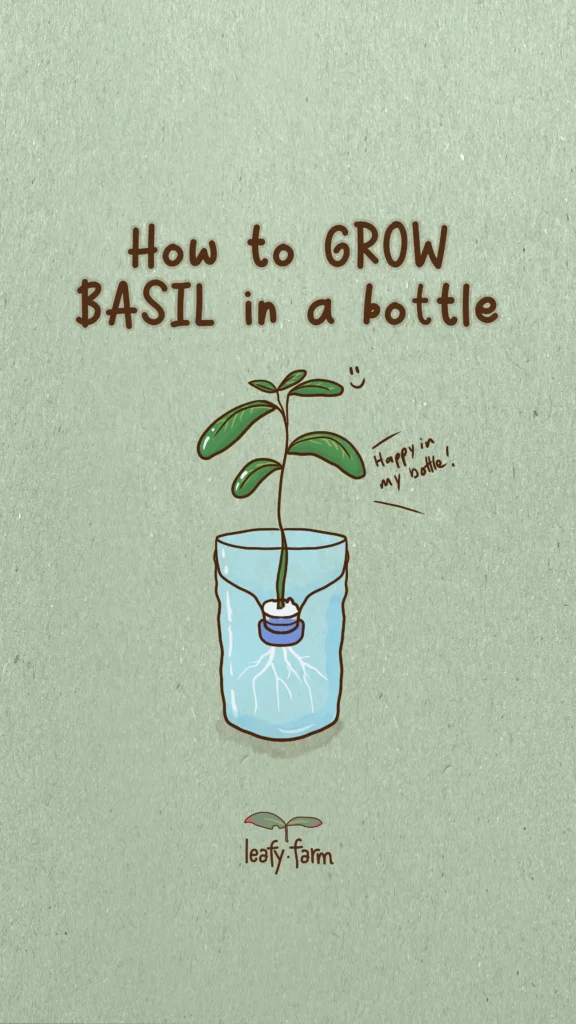
That’s what I always try to have some growing in the garden or near the kitchen window. It grows quickly and you can just take a cutting and start again with a new plant. Here’s an easy method to grow basil in an up cycled plastic bottle, you’ll need a basil seed or two.
Prepare your bottle
Wash your plastic bottle so it’s fairly clean. I remove the label so it’s easier to see the root progress. Then cut the top off with scissors.
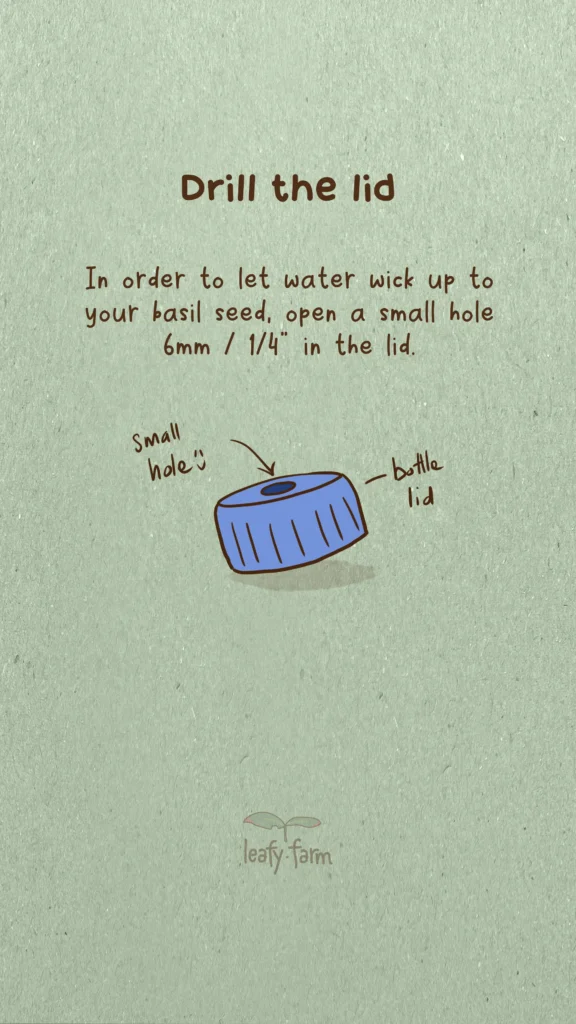
Drill the lid
Drill the lid with a 6mm / 1/4″ hole to allow water to seep into your growing medium.
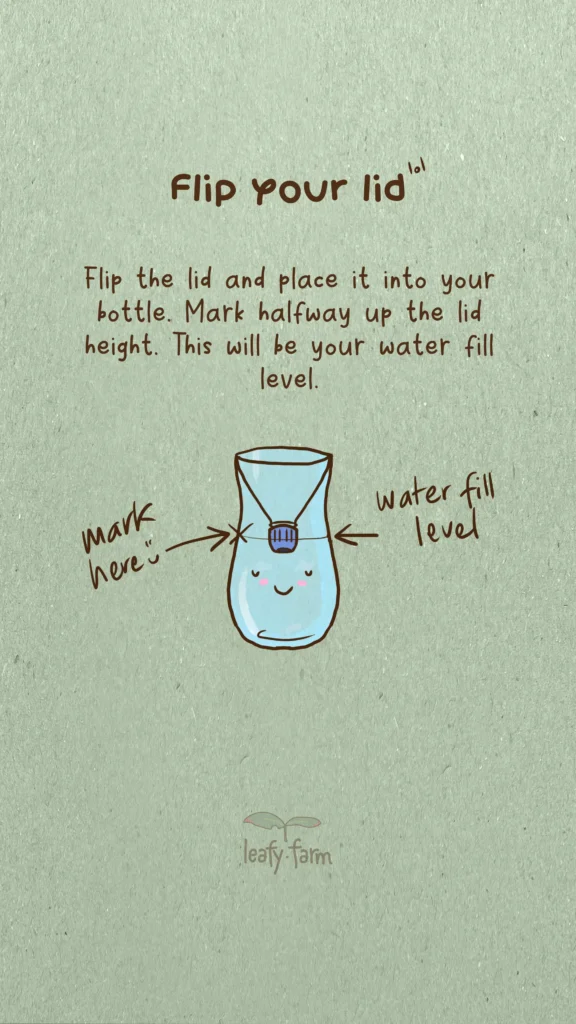
Flip your lid
Flip the lid and place it upside down into your bottle. Use a sharpie or similar marker to mark halfway up the lid as your watermark.
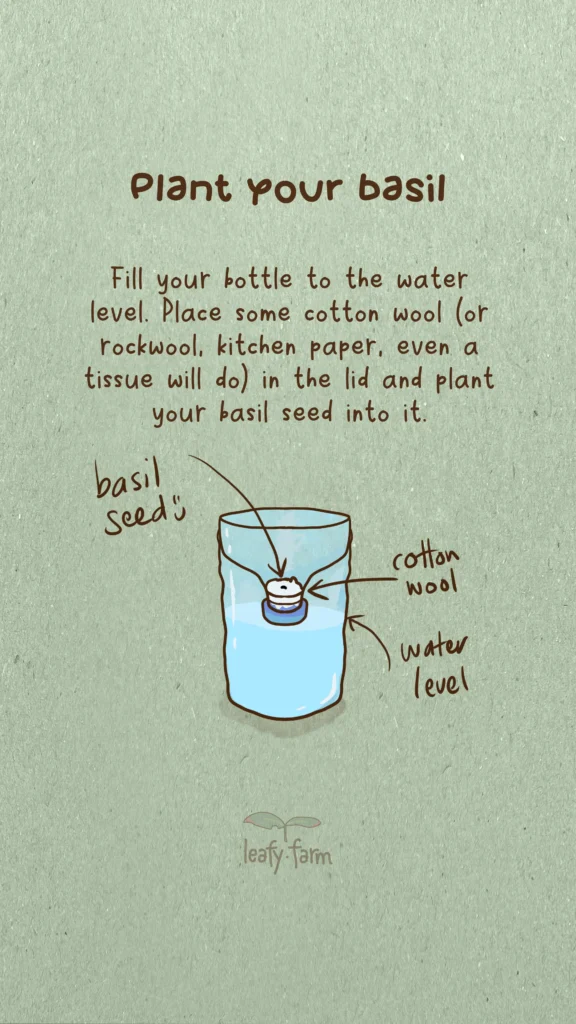
Plant your basil
Fill your bottle to the water mark and lace some cotton wool or kitchen paper into the lid and plant your basil seed into it.
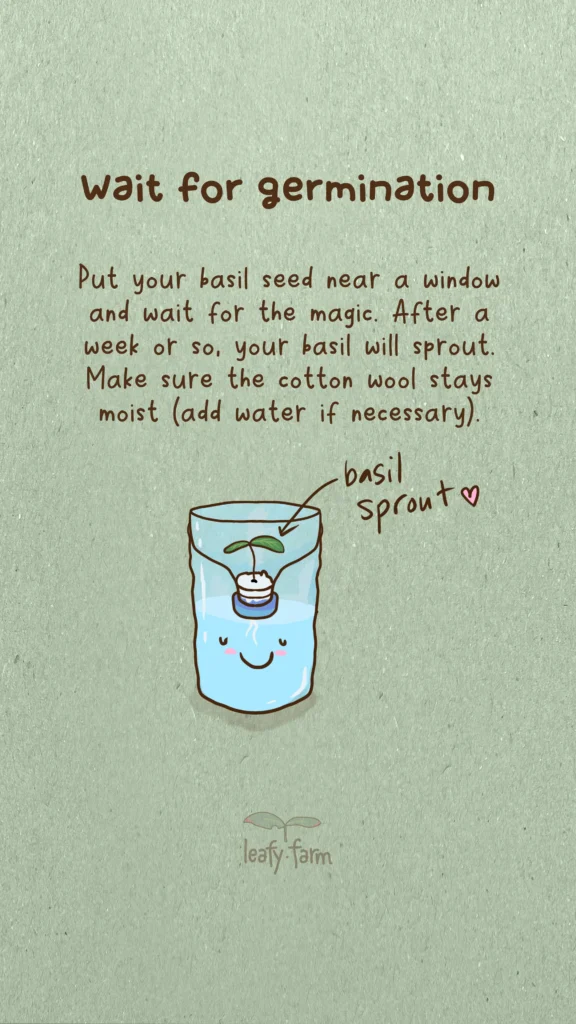
Wait for germination
Put your bottle near a window and wait for the magic. Make sure to keep the water level constant and after a week or so, your basil should germinate.
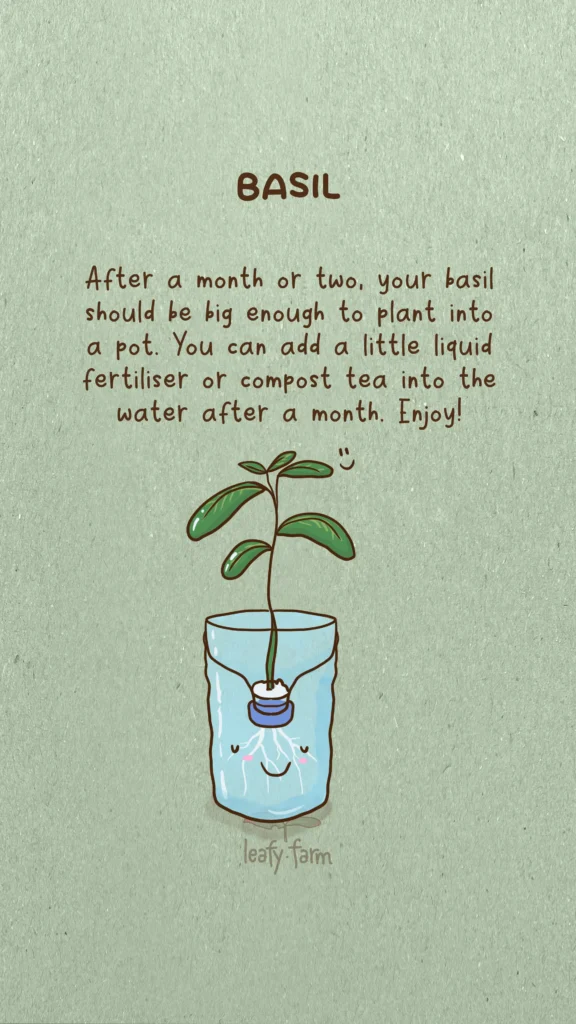
Plant it out
After a month, you should have a nice little seedling ready to be planted out into a pot. Add some compost tea to the water if you’d like to keep it in near the window. Enjoy!
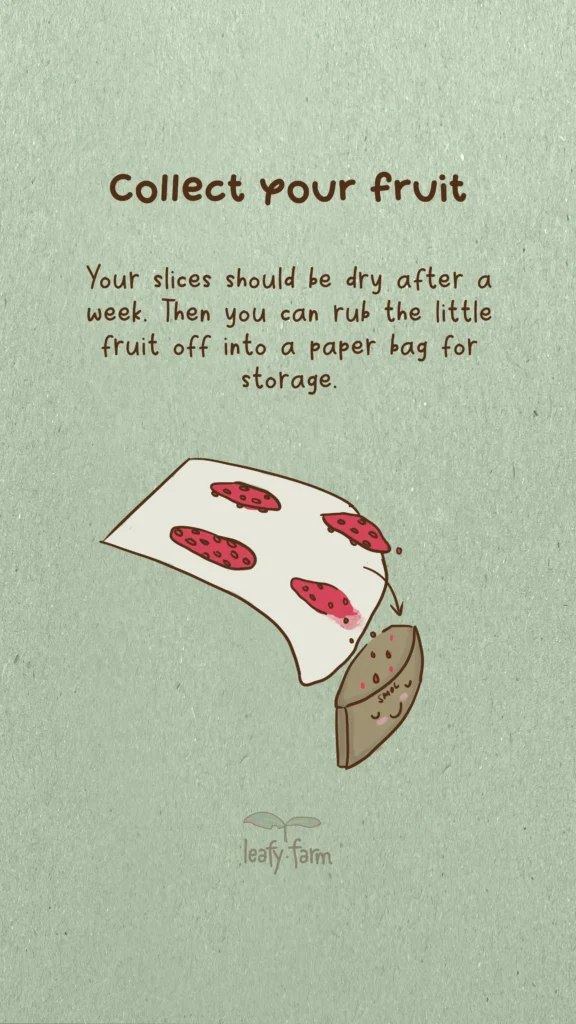
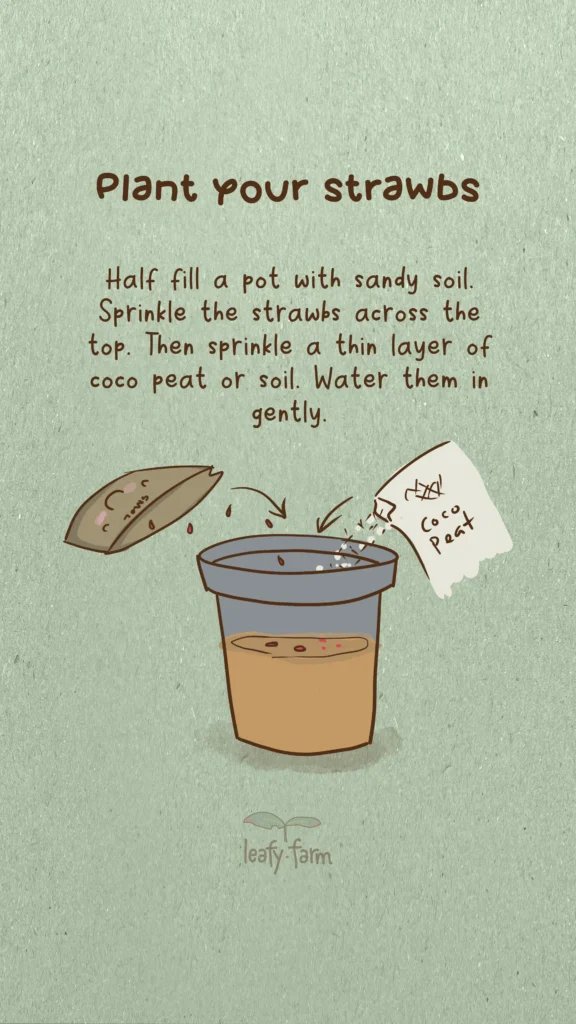
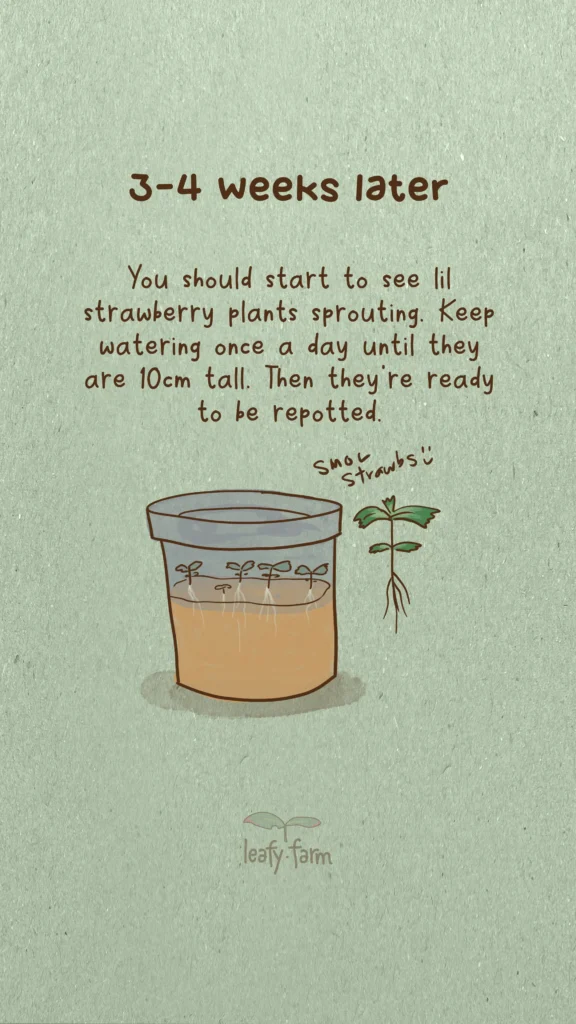
Slice off thin slices around the edge to gather the fruit (seeds). Yes the seeds are actually fruit. Lay them on kitchen paper towel to dry out. Gather the little fruit (seeds) by rubbing them off into a paper bag. Plan them into a half filled pot by sprinkling them onto the surface. Lightly cover with 1mm off coco peat or soil. Water gently . Put them in the shade and wait for sprouts, watering daily. Summer time is best in the southern hemisphere, winter in the north. After a few weeks you should see sprouts. Grow your plants until 10cm or more and then repot carefully.
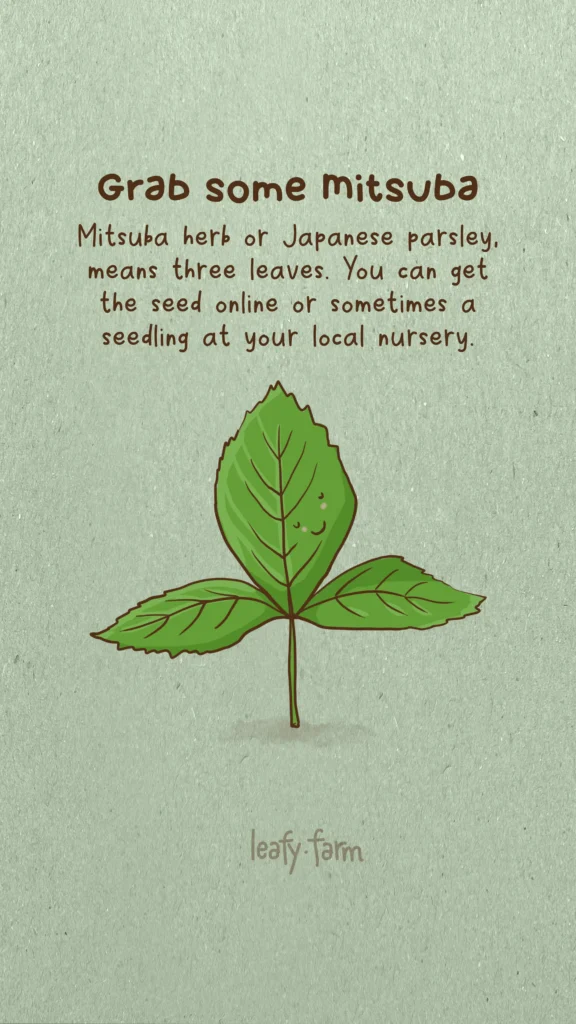
Mitsuba (三つ葉) is known by a few names and the most common would be Japanese parsley. It’s quite similar to parsley in size and appearance. Other names are wild parsley or Japanese hornwort.
The name
三つ葉 or Mitsu-ba literally means three objects + leaves (three leaves) or compound leaves with three leaflets. It is often spelt using Katakana in nurseries in Japan. The genus is Cryptotaenia and the species is Japonica. It’s a perennial and part of the celery family. I’ve had some plants live a couple years, but they do generally all dry up here in Australia due to the heat. But with a little care, you can keep it alive. Of course as they get older, their bitterness increases.
Varieties of mitsuba
There’s a white and and green variety in Japan but I’ve been used to the white variety from the Kansai region.
Growing locations and season
In Japan mistuba is grown in Shizuoka, Osaka and the east coast around Ibaraki, Chiba, Saitama and Aichi. It’s mainly grown hydroponically (green mitsuba) and harvested about 8 times over the year. There are cut leaf farms and also those that leave the root on the plant when presenting for sale. Peak demand in Japan is in December as it’s used for the new year celebrations.
Seed will sprout here in Western Australia in April and plants are pretty much full size in May. It will grow to almost a meter or 3′ if you give it ideal conditions. In the northern hemisphere at home, it flowers in June-August. You can treat it similarly to parsley, let it go to seed and spread and you’ll have it popping up in the garden each year and staying for another season or so if it’s comfy.
The taste
It’s so unique and I love the tang. It’s got a lovely taste a little like coriander but not as powerful. It’s light, refreshing and can be slightly bitter depending on how it’s collected and prepared. The stems are used in soups in Japan and I love the contrast of the soft crunch of those against the kameboko and steamed vegetables often served with it.
It reminds me of Kyoto, cold winter nights and celebration, but with a subtle refined taste. It’s generally presented in such a minimalist way, so the flavour of the stem or leaves stand on their own. I have some memories of it being used in osumashi with tornado cooked egg or in donburi, that’s not a bad combination either.
Health benefits
The leaves have high levels of calcium, iron, potassium, beta-carotene and vitamin A and C.
Mitsuba’s scent
The scent of the plant contains cryptone (compound also found in eucalyptus and mint) and monoterpene which is said to increase appetite, assist with digestion, relaxation and promoting sleep. It contains other essential oils and monoterpenes such as α-pinene, sabinene, and β-pinene.
Possibly why this is served in osumashi at the beginning of traditional Japanese meals.
It’s beauty
I love seeing it pop up in the garden each year (see above, it’s hot here so they die off). The little sprouts come through and I get excited and give them extra care as I weed in between them. I move some to pots to ensure I have a safe supply. Sometimes they’ll get decimated by cabbage white butterfly caterpillars or snails.
They’re a hardy thing once established and love the water. They have pretty leaves, grow to a manageable size and the flowers are super cute.
It’s just one of those perennials that I allow to go free. It doesn’t take over the garden and it’s so useful in cooking. Plus it’s so easy to manage or just pull out.
The flowers
it has these delicate white flowers that bloom from the schizocarp fruits. They’re super cute as they start off tiny and bloom into basil-like flowers.
Gathering your mitsuba seed
Once the seed has dried on the stalks, I cut the dried stalks off carefully with scissors and run my fingers down it to strip it of seeds and put them into a paper bag for storage. You don’t get too much extra plant material, it’s mainly seed by the time it’s dried.
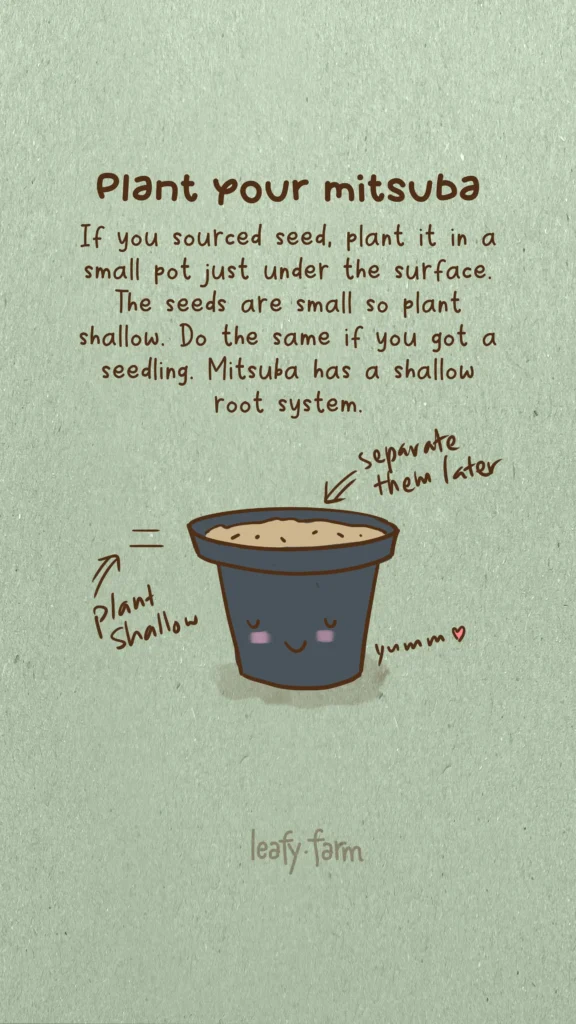
Plant your seed
Plant it into a pot, it doesn’t have to be big to start off. A small 0.5L or 17oz pot is enough to get it started.
Sunshine and climate
Mistuba likes full sun at times and if it’s really hot, part shade is and a cool, temperate climate. If you give it full sun, you might get the strong bitterness in the leaves.
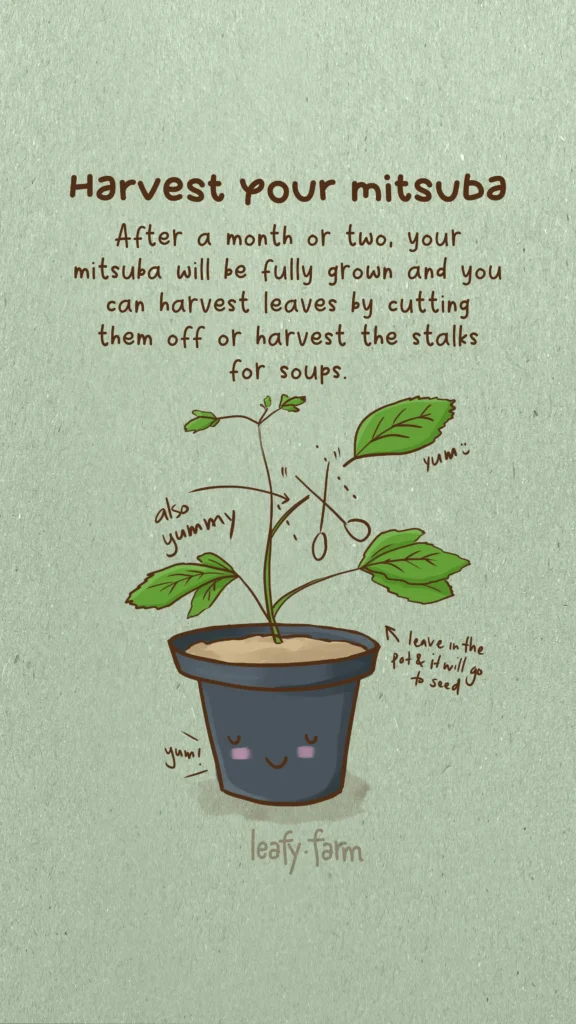
Picking your mitsuba
Harvest the leaves, stalks or root depending on how you want to prepare it. I use the stalks and younger leaves in osumashi. Like parsley, you can just break stalks or leaves off and it will keep producing.
Eat your mitsuba
I had mitsuba often in Kyoto as they blanch the white stalks and add them with small leaves to a clear osumashi soup. I LOVE it and it’s the main reason I sourced seed to get it into the garden. Osuimono (お吸い物) translates to water thing and osumashi is a kind of osuimono. Osumashi generally has a simpler flavour and set of ingredients. Another fave was Japanese clear clam soup (あさりの潮汁), but we’ll talk about that in another blog.
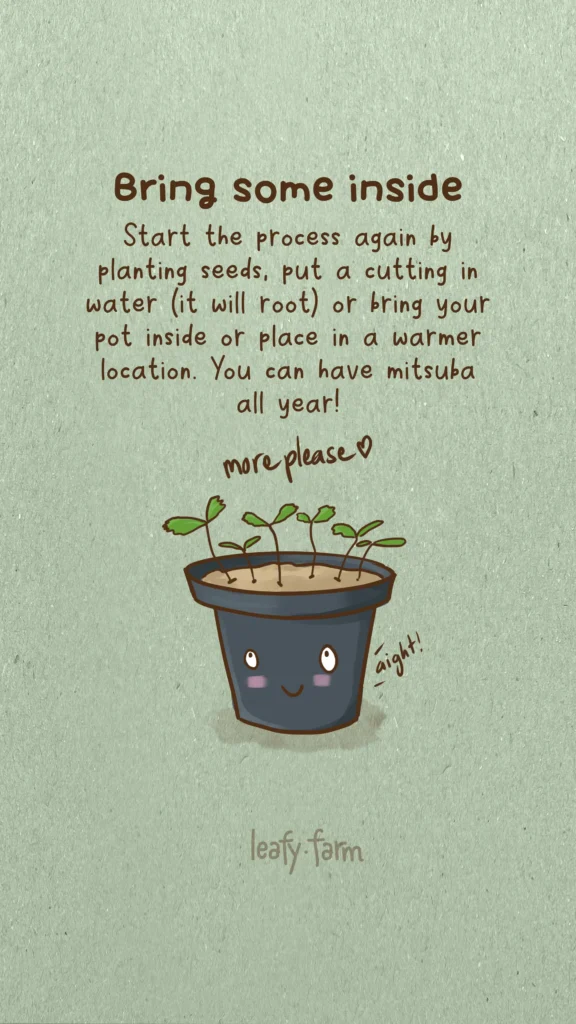
Keeping it alive for next season
Take a cutting and root it in water inside the house. Keep it warm and regrow it like you might for basil. Or, another method is to germinate the seed inside on a silicone mat or in a small pot. It will grow during colder months if you provide warmth, like in the greenhouse.
You’ll have mitsuba all year round! Drop a comment if you found this useful!
Join me on Threads for more or subscribe at the bottom of the page for these posts in your email.
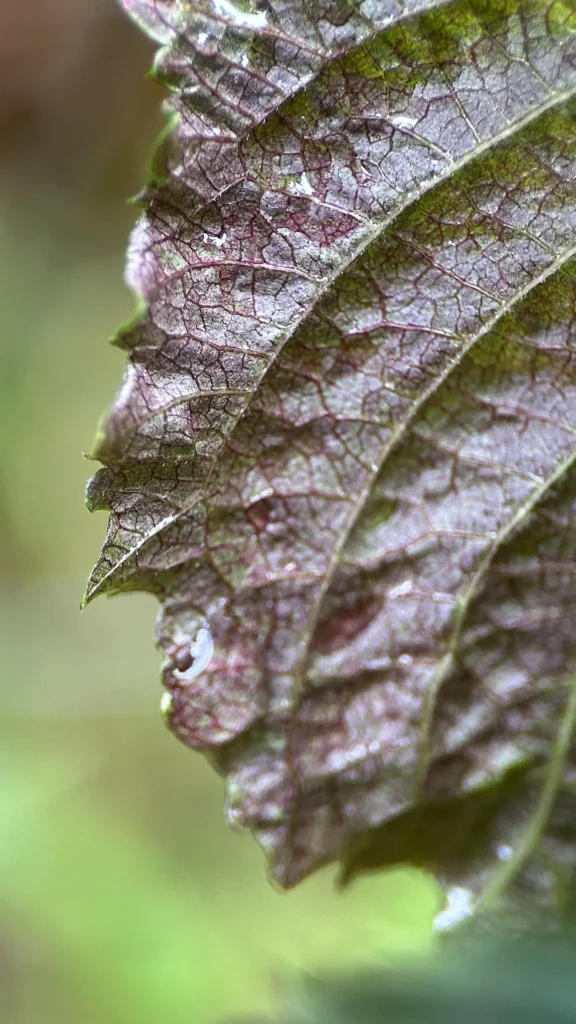
These are shiso plants still going strong two years on.
These plants have been kept in the their strawberry planter for two years now. I’m surprised tbh just how well they’ve done, as they’ve pretty much been left alone.
They were grown from seed and I put plants in various locations to figure out how they’d perform.
Even though the weather had cooled off, here are the results:
Plants in pots outside, died
Those in the hydroponics, also died. Too much water
Plants in half sun, eventually also died off.
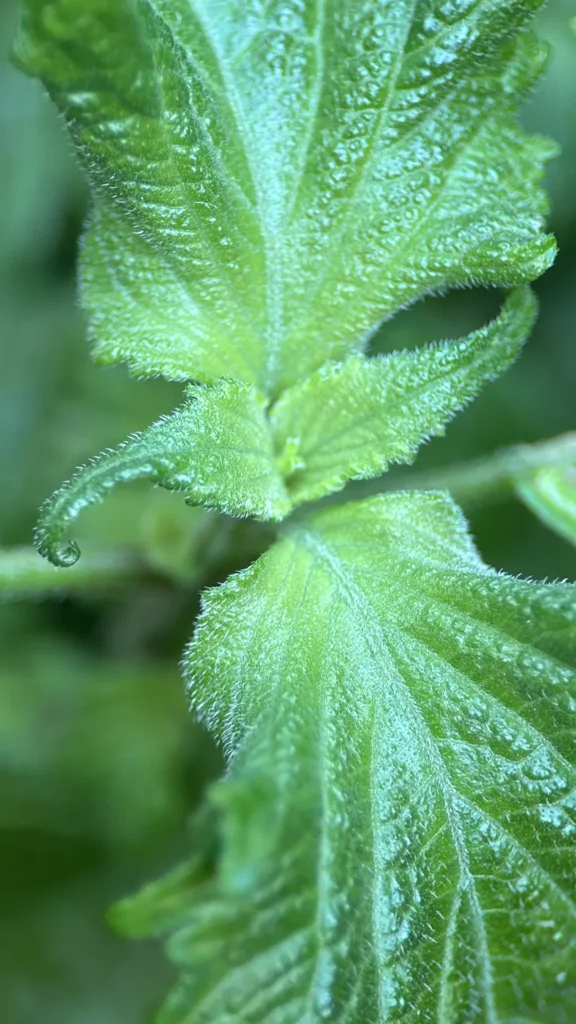
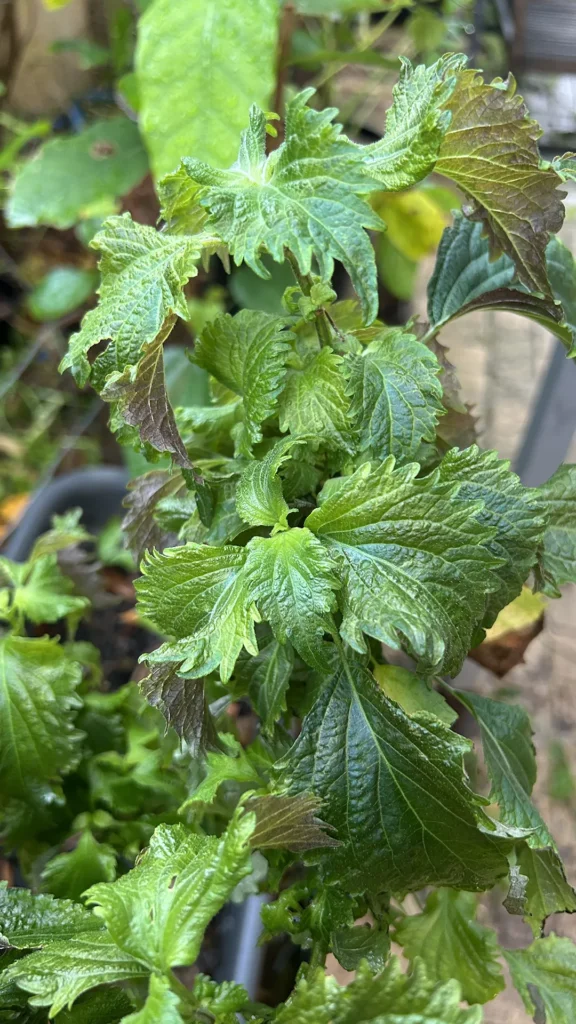
Plants under shade – thrived.
I’m in Boorloo, Perth in Western Australia and our grow or climate zone is Zone 11a: 4.4°C to 7.2°C.
Read my other article on growing shiso from seed. But it seems clear that in our climate zone, they need permanent shade.
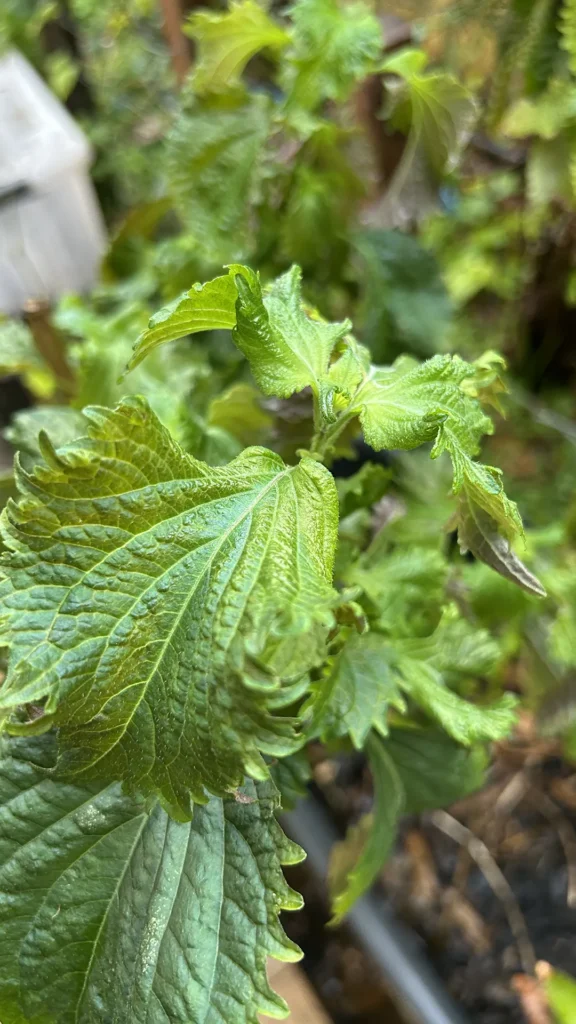
In Omachi in Japan, I remember walking alongside fields of shiso (green and purple) planted out in full sun. Their climate is much more suitable for an open field crop.
The plants were tall and bushy at 1.5m high. I remember making a mental note to myself at the time to one day achieve a similar kind of field in Australia.
These plants in the planter are 50cm tall and due for some fertiliser and TLC. It’s the beginning of Djilba or Spring here, cool and wet with the odd sunny weekend with some warmth. It’s gotta be one of my fave times of year.
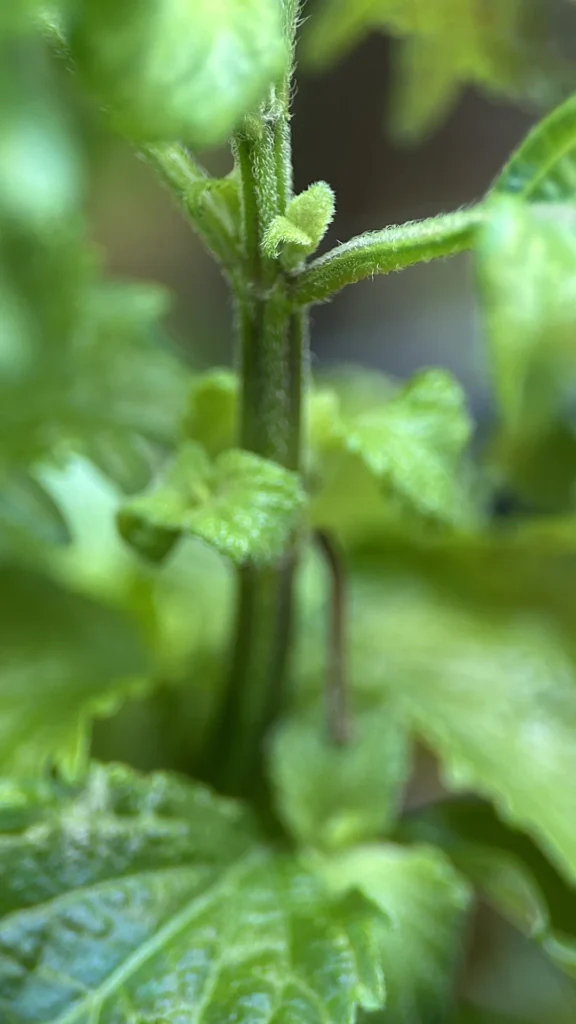
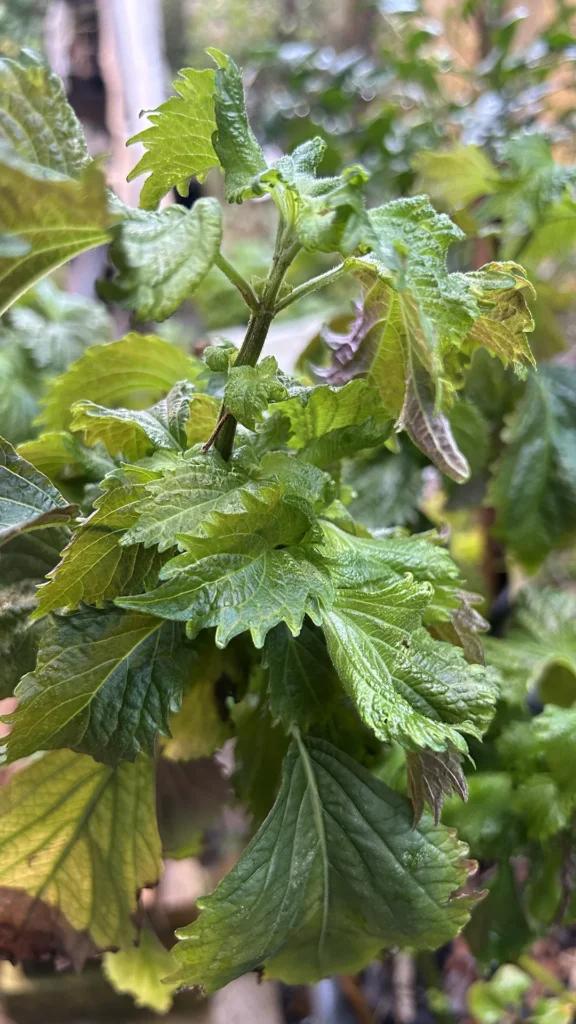
Shiso don’t like being replanted, especially when they’re just getting established. I’ve found that young plants do not like having their roots disturbed or air dried (like most herbs I guess). It’s one of the reasons I haven’t moved these.
Also, they’ve continually produced lush leaves pretty much all year. So there’s been no reason change anything.
I’d like to see how a larger pot improves things though, so I’ll move them carefully and report back.
Seaweed tea is an amazing fertiliser for your garden and has benefits also as a foliar spray, fertilising and protecting. The materials you need are readily available if you’re near the ocean and it’s quick to prepare.
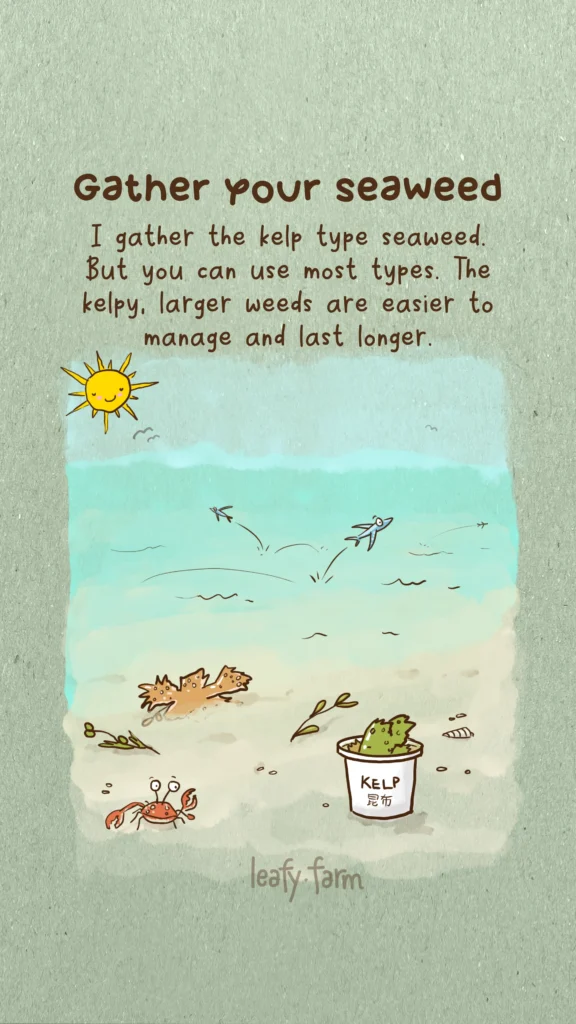
Gather your seaweed
Grab a bucket and hit the beach. The kelp type of seaweed works well but you can use anything. Throw it in the bucket after you’ve removed any sea creatures.
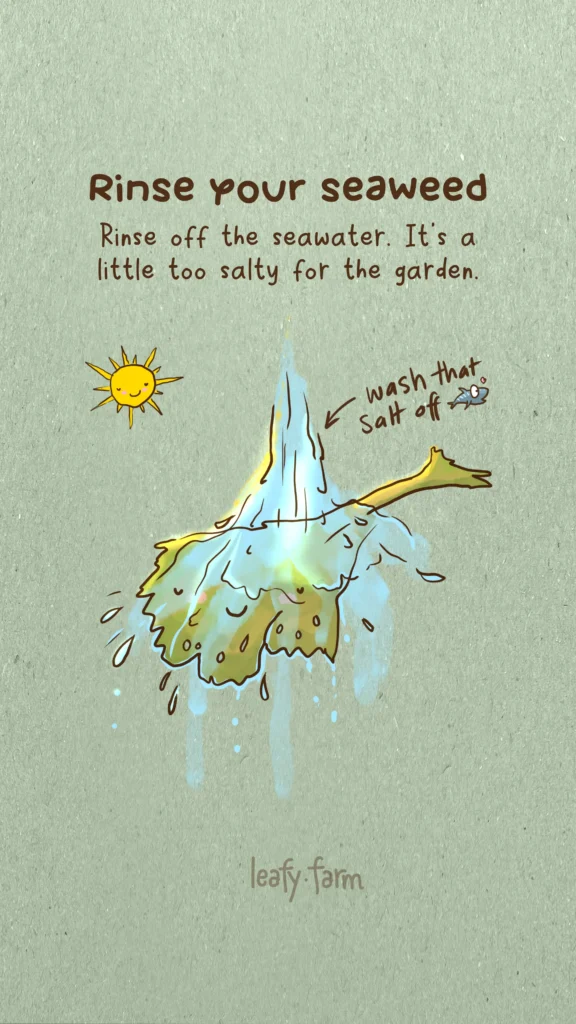
Rinse your seaweed
Rinse off the seaweed with fresh water. You don’t have to, but the salt can be too much for some plants.
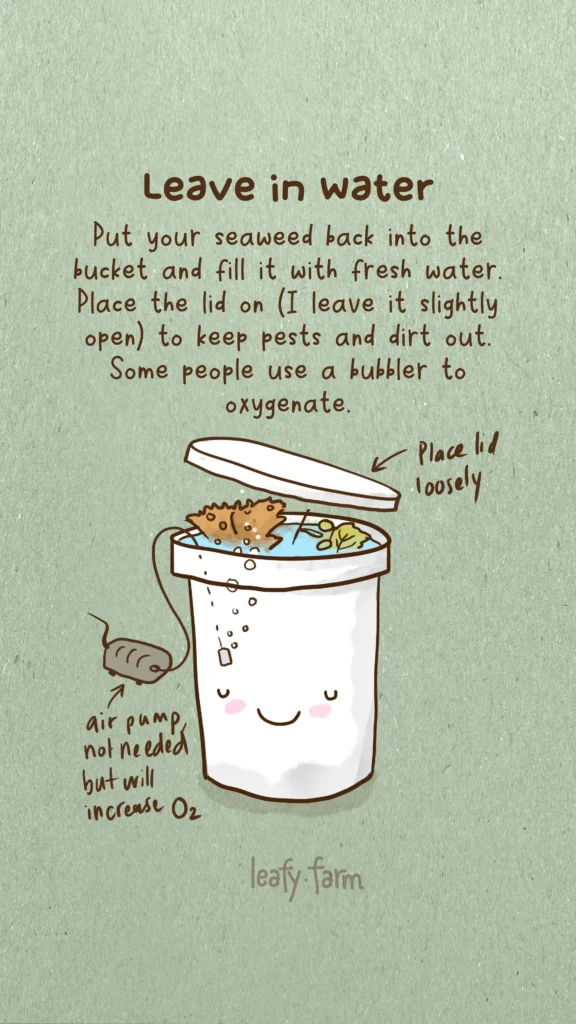
Leave it in the water
Put your washed seaweed back into the bucket and fill it with fresh water. Place the lid back on but leave a small gap. Aerobic steeping works faster. Adding an air pump also speeds it up, but that’s not necessary.
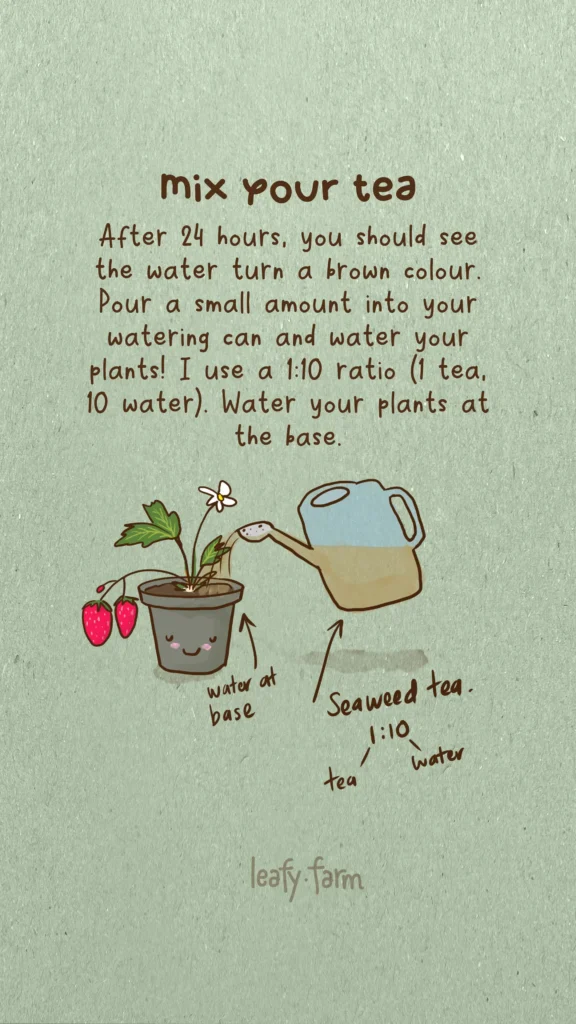
Mix your seaweed tea fertiliser
Your water will start to discolour pretty much immediately, but after 24 hours it’s steeped enough that you can extract some and use it on the garden.
Put a small amount into a watering can and mix it to a ratio of 1 part tea to 10 of water. Try watering around the plants just a little to begin with.
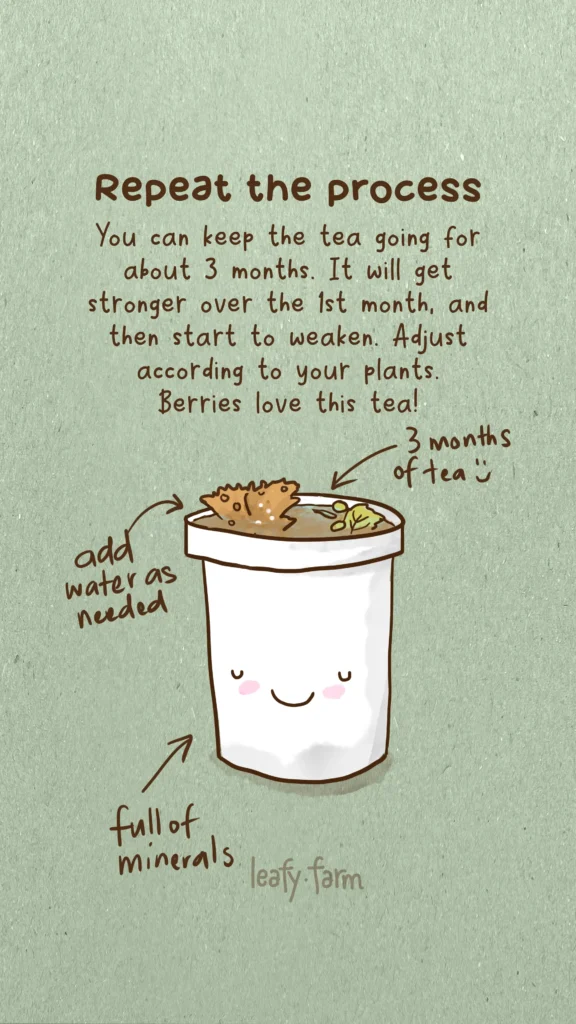
Repeat the process
You can keep the process going for ages. It will get stronger and stronger, so dilute it further as it ages. Test it out on your plants and see how they respond. I’ve found that berries love it!
How I grow stone fruit trees from seed. There’s a huge variety of stone fruit and if you’re lucky to live in a climate where they grown, they’re so delicious and amazing trees to have in the garden.
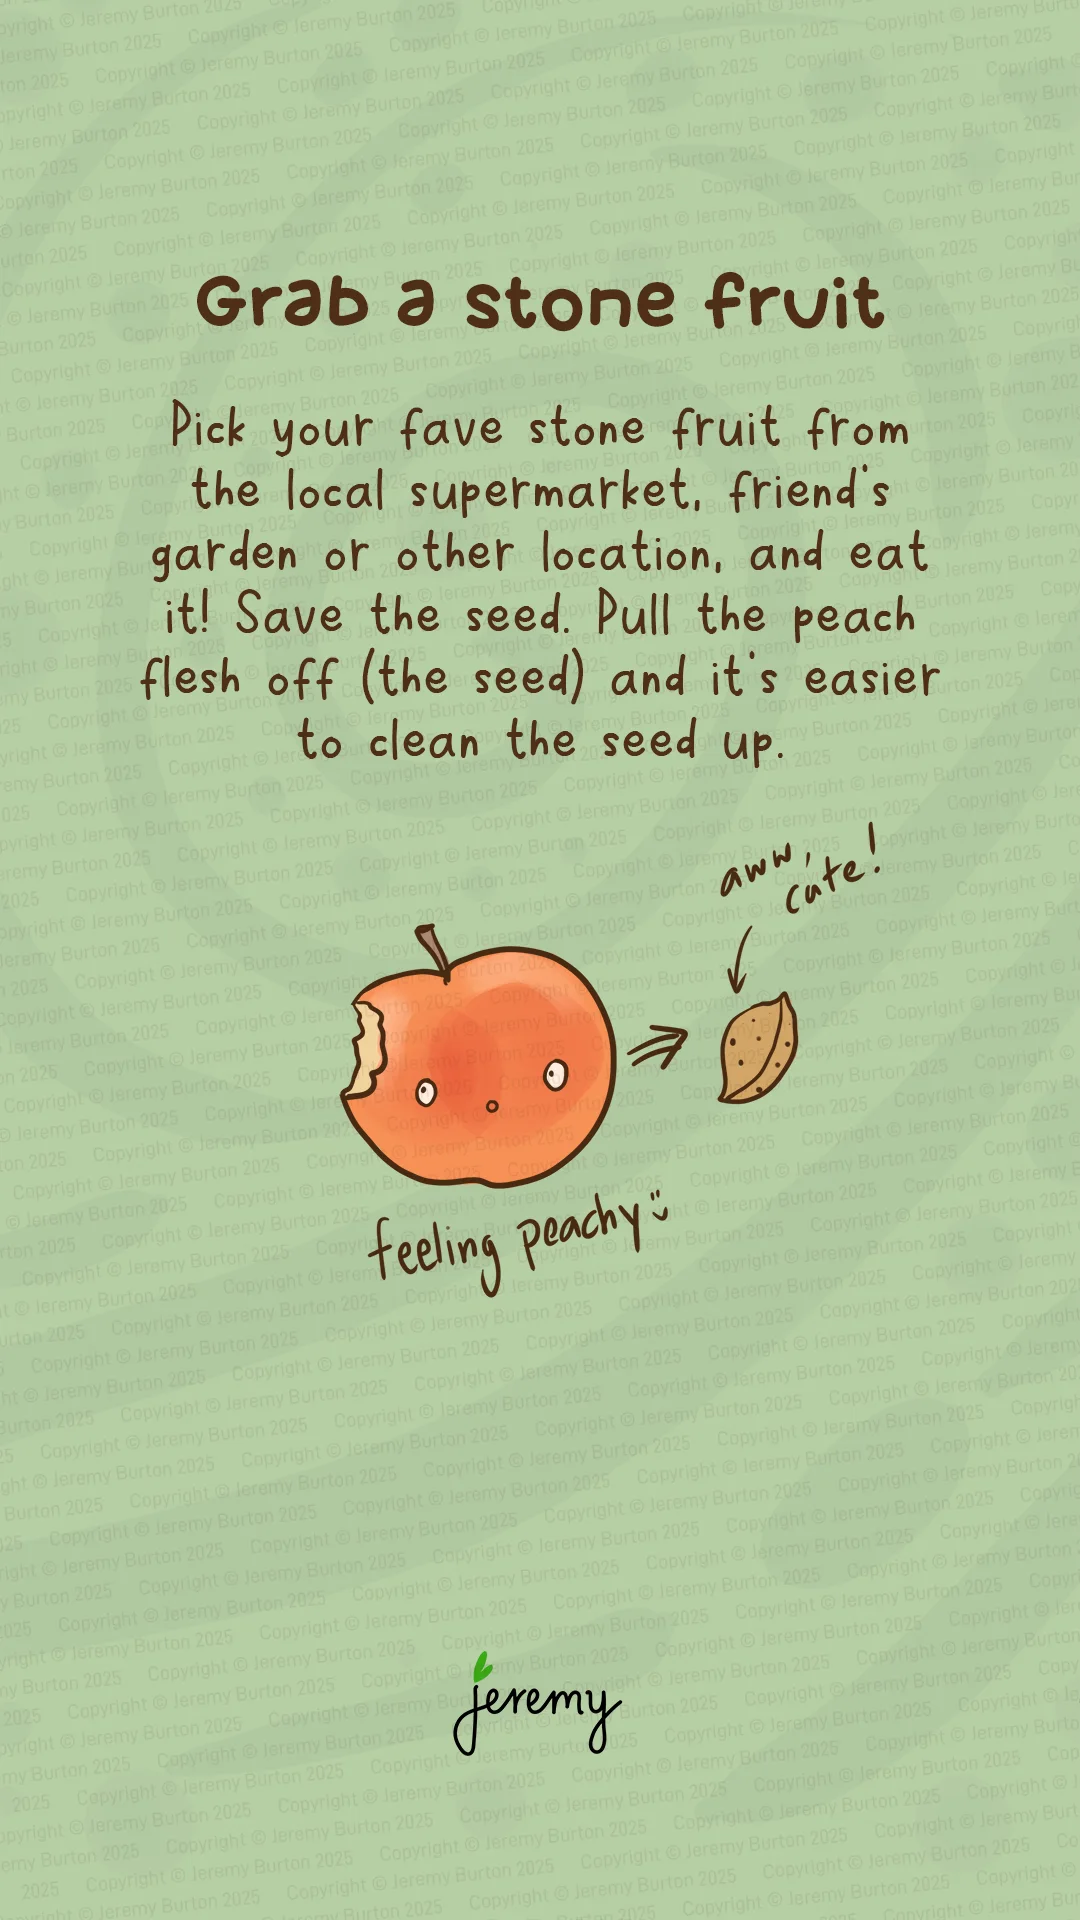
Grab your favourite stone fruit
In this case I chose peaches. I love the white peaches in particular. It’s a habit I picked up in Japan where the white peaches are so big, they’re a meal in one. Eat your fruit and save the pit.
Give it a rinse to get the flesh off, it will be easier to handle.
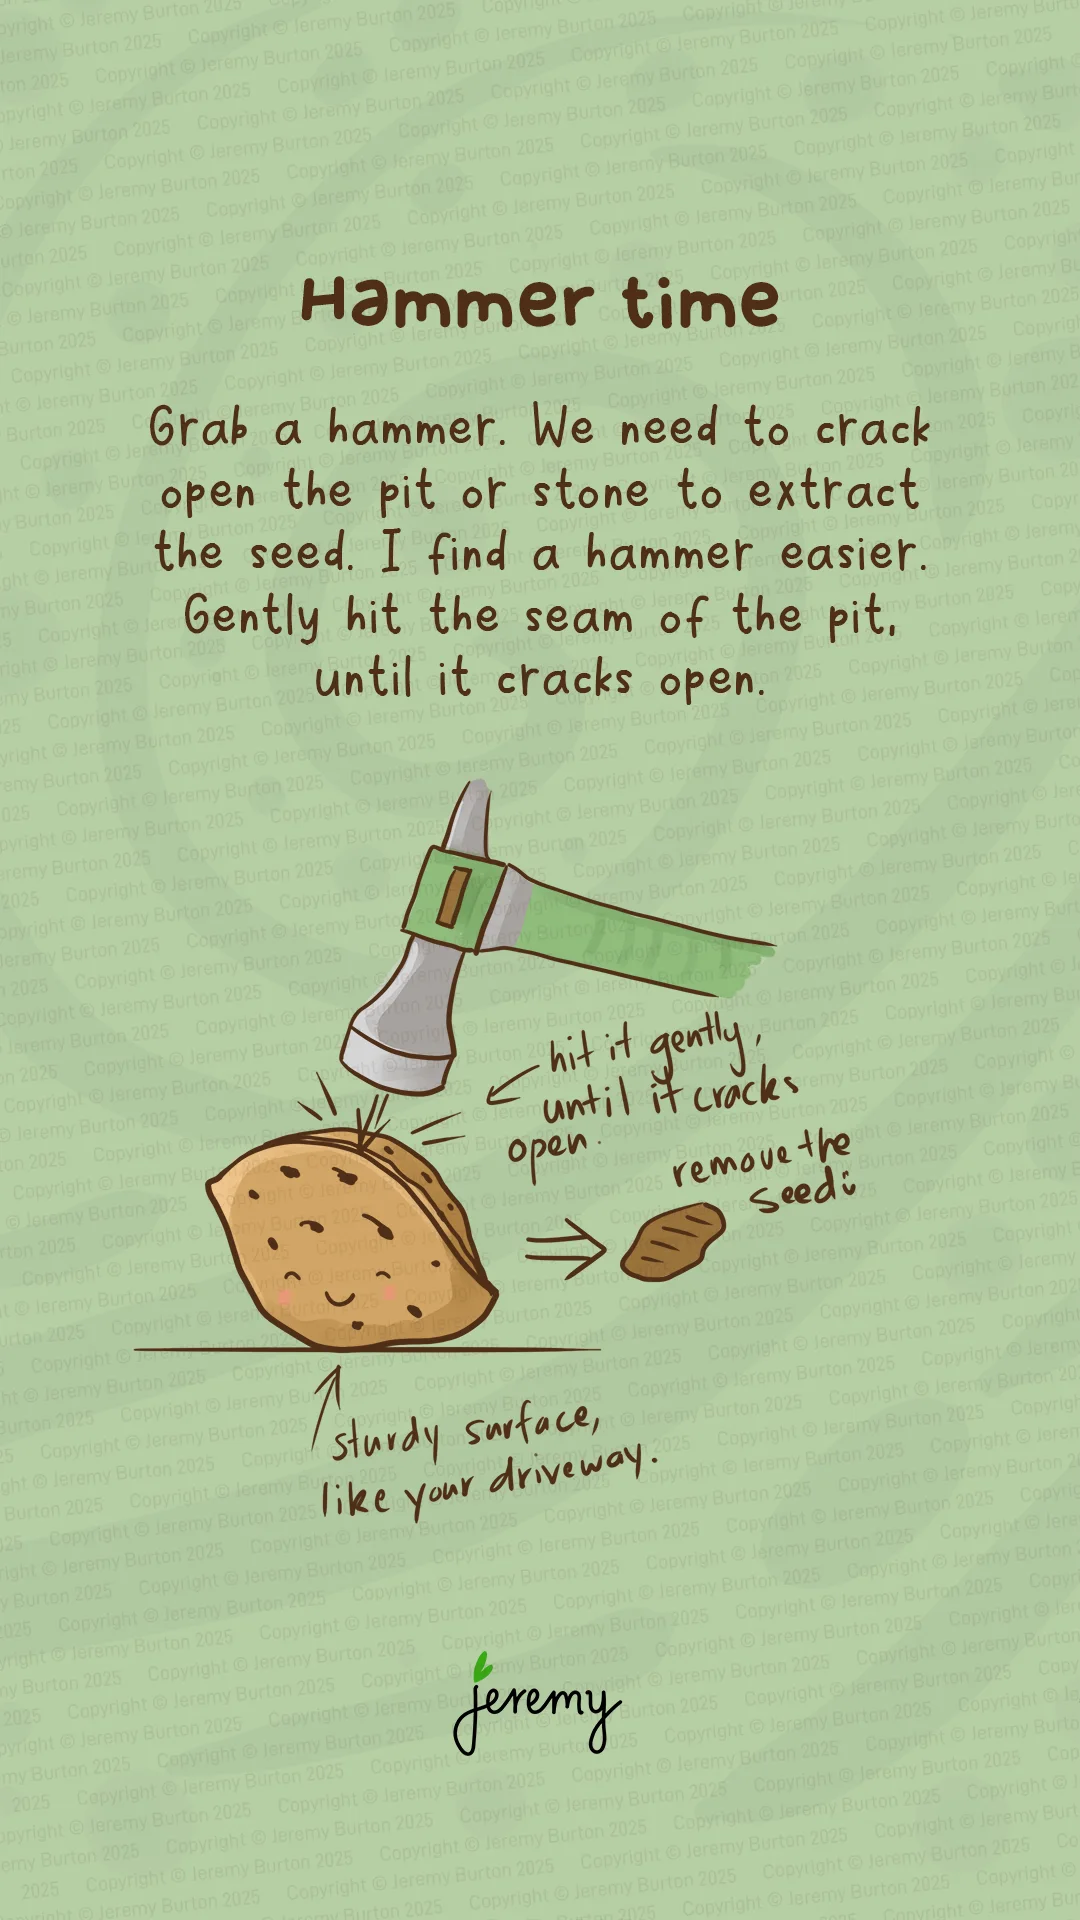
Hammer time
Grab a hammer (or you can use something else solid – a brick) and hit the pit gently on the seam. It will eventually crack open. Hit it repeatedly but gently. If you hit it too hard you’ll likely smash the soft seed inside. It takes practice.
Check the quality of your seed.
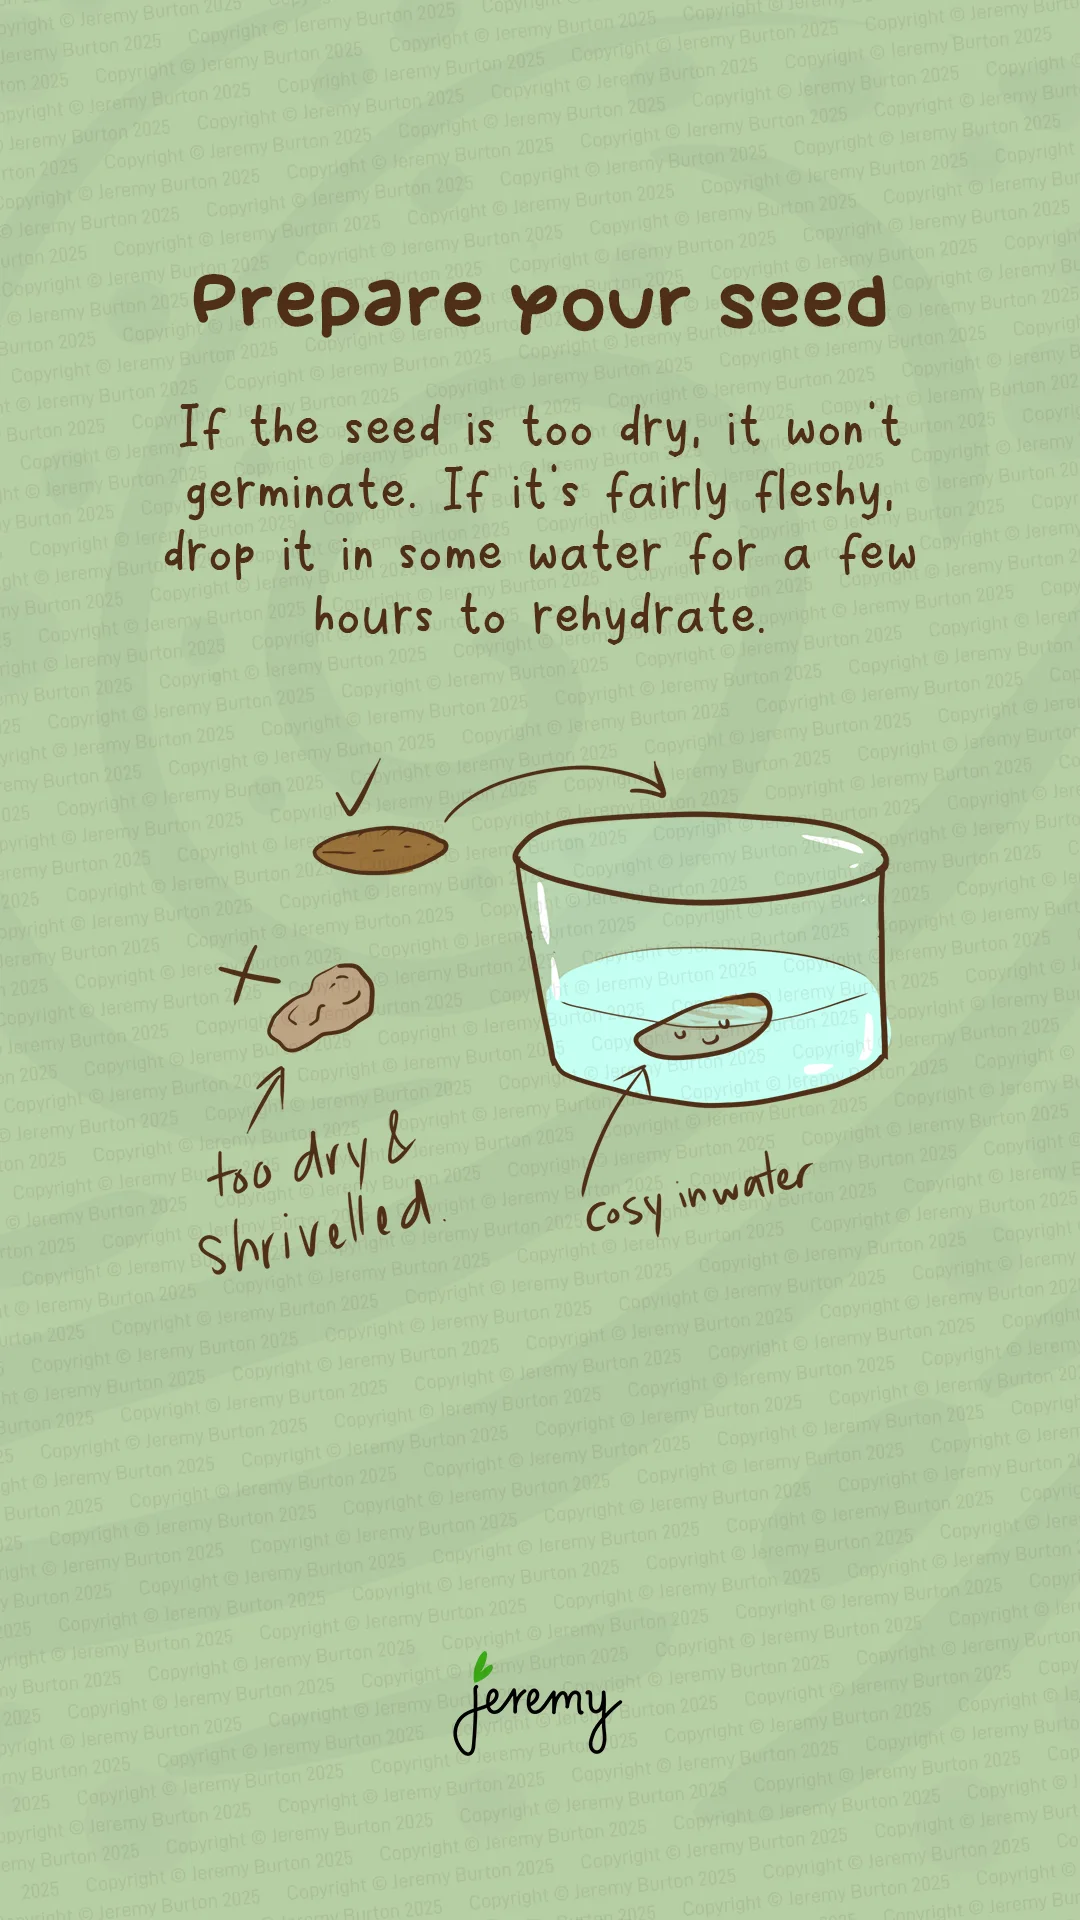
Prepare your seed
If the seed looks pale yellow and dried up, it is likely a goner. Your seed needs to be round and firm. Put it into some water for a few hours to rehydrate.
Plant your seed
last your seed into a pot, a sandy soil seems to be good. 2-3cm or 1″ deep is plenty. Keep the soil moist and put it in the shade. Full sun will likely kill the seed.
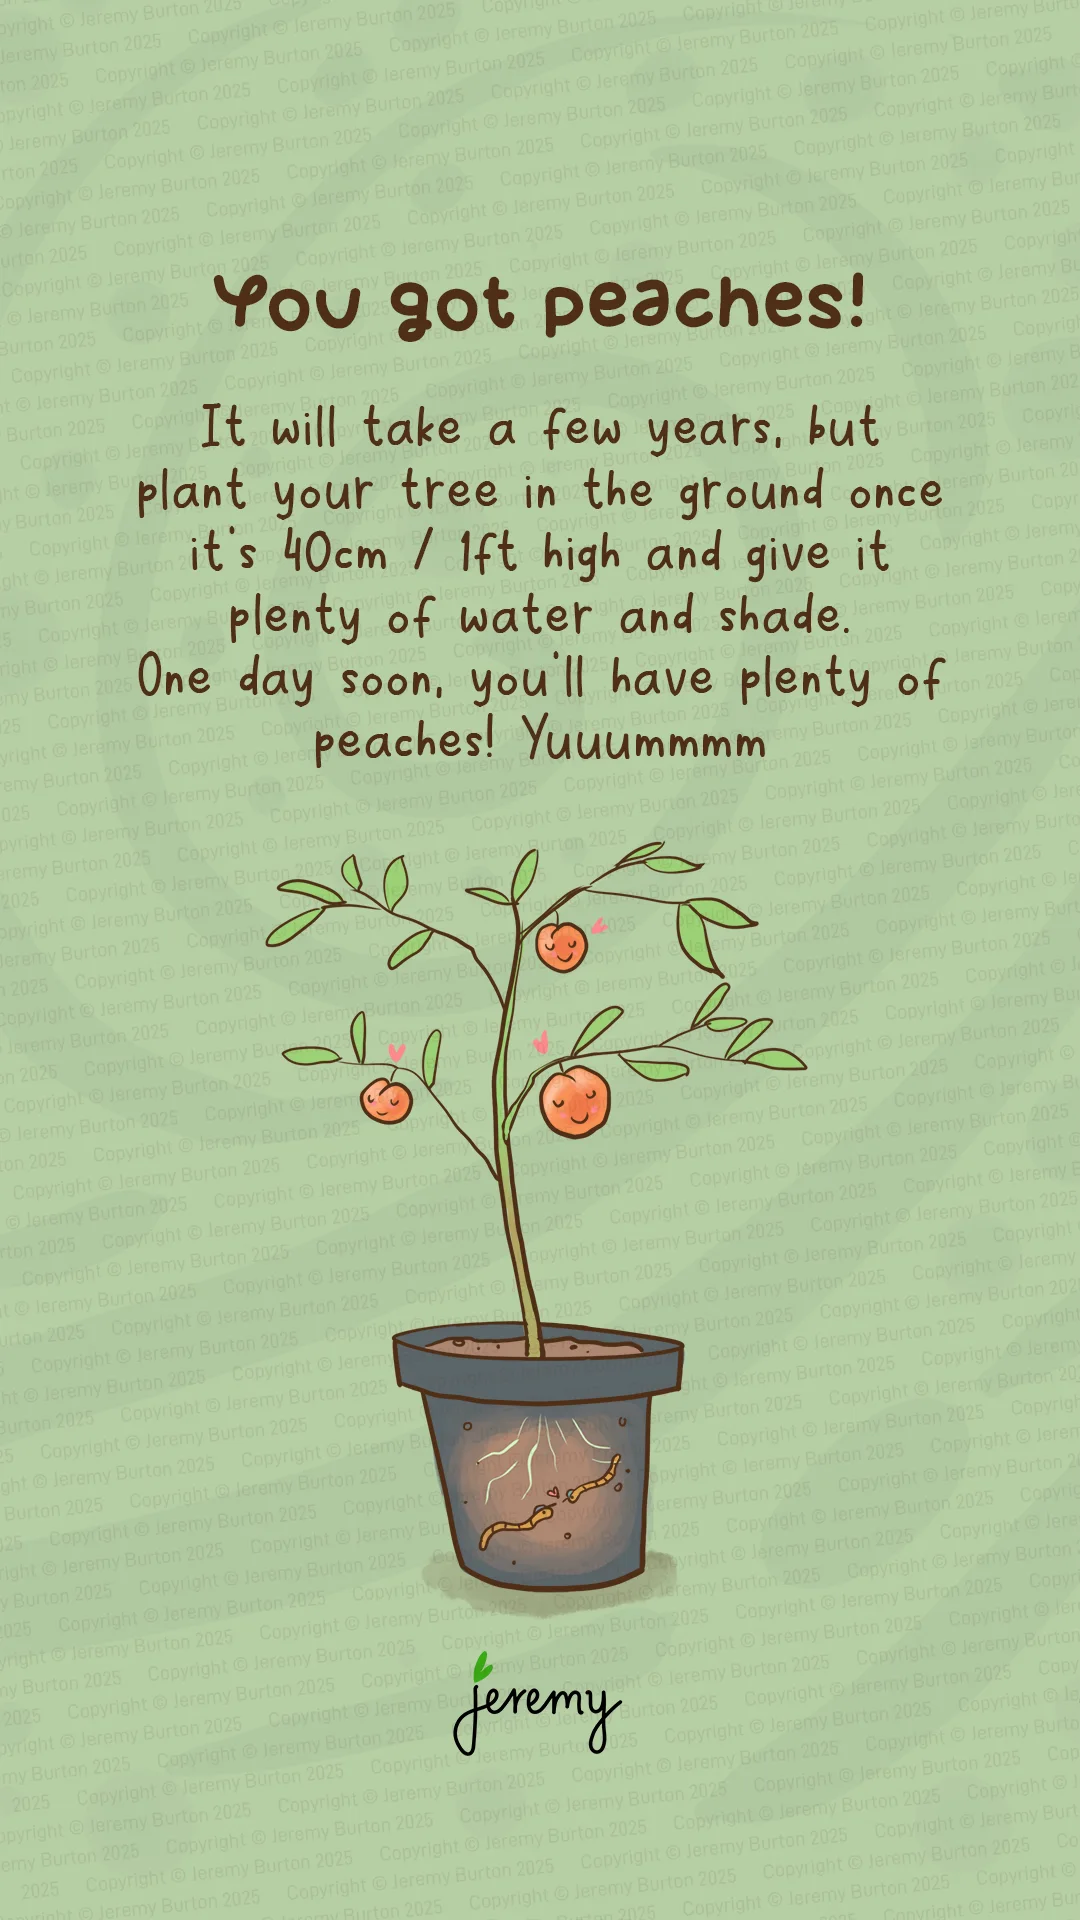
You got peaches!
After a month or so, your seed will germinate and a small seedling will grow. Keep it in the shade and grow it to 40cm or 1ft. Bigger if you’d like. Then plant it in the ground in a sunny position, water it often and mulch the base.
Put plenty of organic matter in the hold when you plant it. Fruit trees love that. It will take a few years, but eventually you will have grown a beautiful peach tree that bears lots of yummy peaches!
I’ve grown lots of stone fruit trees this way. I have several nectarines growing via this method at the moment. Good luck!
Drop a comment below if you found this useful or join me on Threads for more.